
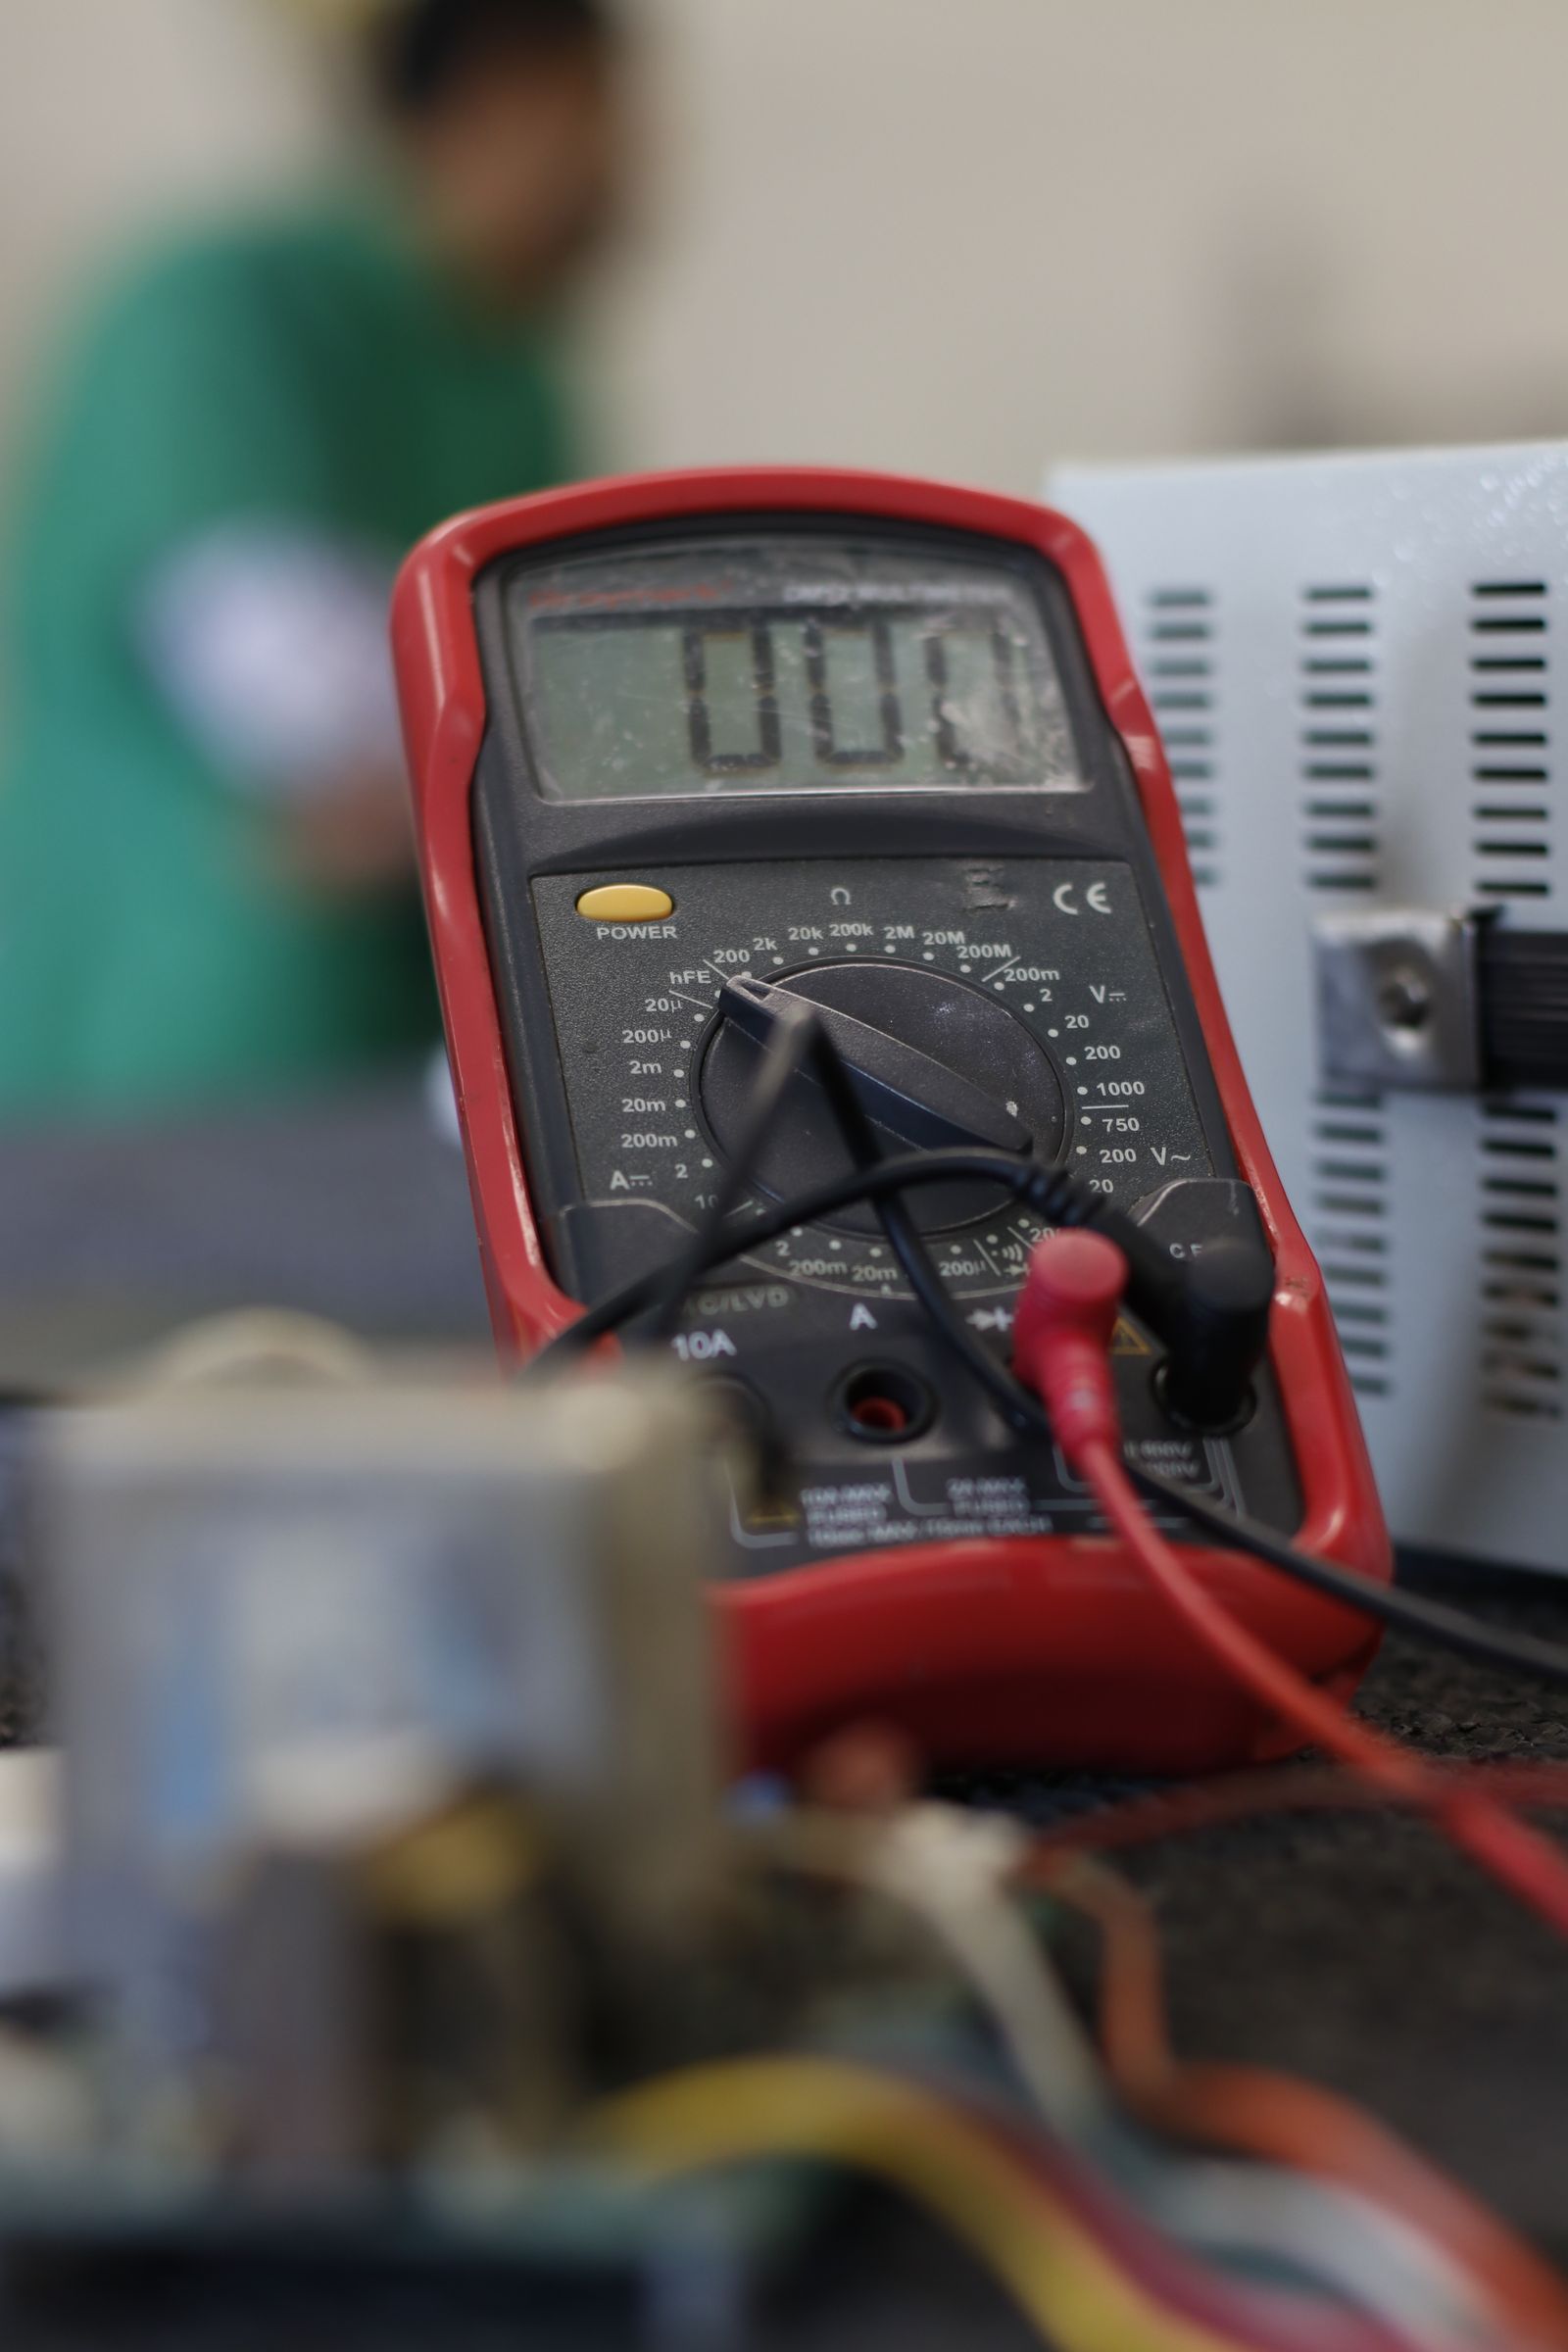
After entering a workplace, a detector's toxic gas reading appears higher than usual. What happens if the worker assumes a simple error and presses zero there? Changing the display to look correct does not change the actual air.
Portable gas detector zero adjustment establishes a sensor baseline under verified reference conditions. Evidence of clean air and channel-specific conditions matter more than button order. Using contaminated air as the reference may lead to incorrect interpretation afterward, so zeroing must not be used to remove readings in hazardous locations.
1. Zero does not erase hazardous air
Zeroing establishes a starting point for a specified reference condition. Industrial Scientific explains that zeroing in ambient air that is not actually clean can set the indication to 0 even when the relevant gas is present. Manufacturer definition of zeroing
The problem is that warning signs disappear from the screen, making their cause easy to miss. Resetting before determining whether the problem is hazardous air or the instrument also obscures original observations and condition. First leave safely under workplace procedures, then report the display and circumstances to the responsible person.
Zero adjustment also differs from testing whether a sensor responds or checking its sensitivity to gas concentration. Successful zeroing does not verify every measurement condition. Required subsequent functional checks and calibration verification must follow the instrument manual and site procedures.
2. Smell and place names do not establish clean air
Descriptions such as “outdoors,” “in front of the office” or “a windy place” do not reliably establish reference air. Vehicle exhaust, adjacent equipment, cleaning products and ventilation discharge directions can change. Designate zeroing locations after reviewing possible contamination by the gases targeted by the actual sensors.
The manufacturer's FAQ advises against zeroing where clean air is unconfirmed and recommends suitable zero air where needed. Do not extend this into button sequences for every model or gas combinations for every sensor. Manufacturer FAQ on clean air and zero air
Sites can maintain a “zeroing location card” recording position, selection evidence, nearby work to avoid, reference gas, applicable instruments and review responsibility. If a new process or exhaust system starts nearby, review the designated location before continuing to use it.
Workers must not enter hazardous air or sniff to check it for zeroing. If a safe, verifiable reference condition is unavailable, stop and hand the matter to the responsible person. A 0 reading on the same detector cannot itself prove that its zeroing air is clean.
3. Distinguish the oxygen channel from other channels' 0
Do not treat toxic and combustible channel zeros and the oxygen channel's air reference as the same numerical goal. Manufacturer descriptions distinguish oxygen in ordinary ambient air from other gases' 0 displays. Check menu descriptions to determine whether the step uses ambient oxygen as reference, is a separate oxygen zero test or forms part of full calibration. Distinguishing oxygen readings in bump testing
The name “zero gas” does not automatically describe composition. Zero air containing oxygen differs from oxygen-free gas. Do not apply nitrogen to an entire multi-gas instrument without checking which channel and procedure it is intended for.
Question | Documentation to check | If the decision is unclear |
|---|---|---|
Which channels does this menu set? | Installed sensors and menu description | Ask manufacturer or administrator before operation |
Is this an air reference or separate zero step? | Calibration procedure for the actual model | Do not substitute another model's procedure |
What is the actual zero-gas composition? | Cylinder label and certificate | Do not connect based on the name alone |
What are the sequence and stabilization conditions? | Manual prerequisites | Do not arbitrarily shorten waits |
The table identifies different reference operations by instrument rather than prescribing one number. If oxygen sensor type or settings change, check whether existing site notes still apply. Do not automatically reuse procedures for the previous configuration after sensor replacement.
4. Preserve condition and check prerequisites before adjustment
Before zero adjustment, record current readings, error messages, instrument ID and surroundings. Check manufacturer preparation and stabilization requirements. Repeated power cycling or re-zeroing without records makes the initial state difficult to explain.
For hazards or alarms, move to a safe place under workplace response procedures.
Record model, sensor configuration, current displays and errors.
Determine from the manual whether zeroing is necessary in this situation.
Verify evidence for clean air or suitable zero gas.
Adjust using the specified method, sequence and stabilization conditions.
Record adjustment and follow-up verification, and approve use status.
This is an operating procedure framework, not a replacement for model instructions. If zeroing repeatedly fails or readings remain outside the manual's tolerances afterward, stop use and obtain a servicing decision. Forcing readings into place until they pass must not become the management objective.
With zero gas, composition, supply parts and connection method must all match. Not any cylinder among site supplies is suitable. See checking calibration gas and regulators for cylinder and component selection.
5. When zeroing in contaminated air is suspected
If adjustment has already occurred, do not continue work based on normal-looking numbers. Segregate the instrument as out of service and report location, time, original displays and actions. Effects on each channel must be checked, so do not overwrite the record with merely “zero complete.”
Perform recovery under verified reference conditions using manufacturer procedures for the actual instrument. Do not base return solely on a successful second zero: review required functional checks, accuracy verification and calibration results together. Decide whether repair or sensor inspection is needed from symptoms and manufacturer guidance.
Incorrect-adjustment event record | Example entry format |
|---|---|
Location and time | Workplace, area, time and surrounding process status |
Pre-adjustment observations | Channel readings, alarms and errors |
Actions | Menu name, executed or canceled, and result |
Instrument status | Out-of-service location and replacement instrument ID |
Recovery process | Reference environment, procedure and responsible person |
Return evidence | Follow-up results, approver and approval date |
This form traces condition rather than determining an incident's cause. If contamination remains unconfirmed, record it as “suspected” and distinguish facts from inferences. Leave whether the original reading reflected instrument trouble or actual gas as a separate investigation item.
6. Hypothetical example: a zeroing station beside a vehicle waiting area
Suppose a site places its detector issue station outside the building. Some instruments begin showing different readings at the same time of day, and workers repeatedly zero them at the station to remove the numbers. The responsible person later confirms vehicle movements and exhaust direction nearby have changed.
This alone does not establish a particular gas concentration or instrument fault. The responsible person stops zeroing there, reviews reference conditions and gathers before/after records. Only instruments recovered and verified using confirmed methods are reissued, and the location selection card gains a review item for surrounding condition changes.
The improvement is more than repeating “do it somewhere clean.” It connects the actual location's selection evidence, changing operating conditions, and stop-and-report procedures for abnormal readings. The value is a system that prevents workers from independently guessing reference conditions.
Continue with differences between bump tests and accuracy checks for post-zero functional verification. Recording these separately clarifies what has been verified and what remains.
Action checklist
[ ] Record readings, alarms and errors before adjustment.
[ ] Follow site emergency response before zeroing in hazardous conditions.
[ ] Confirm the reference operation matches the current model and sensors.
[ ] Verify zeroing location clean-air conditions with evidence.
[ ] Compare zero-gas composition with applicable channels.
[ ] Distinguish oxygen air references from separate zero steps.
[ ] Separate failed or incorrectly adjusted instruments from usable stock.
[ ] Retain required recovery verification results and return approvals.
Conclusion
Portable gas detector zero adjustment is closer to verifying reference conditions than merely producing 0. Compare locations, gas composition and channel-specific procedures first to avoid setting contaminated air as the reference.
Abnormal readings require a workflow preserving original condition and obtaining a responsible decision in a safe place. Managing zero success separately from field-use approval reduces overinterpretation of adjustment results.
Sources
Industrial Scientific, Calibration and Bump Testing Procedures: definition of zeroing and risks of incorrect adjustment in contaminated air.
Industrial Scientific, Gas Detection FAQs: manufacturer guidance on clean air and zero air.
Industrial Scientific, Bump Testing Gas Monitors Should Be Second Nature: distinguishes oxygen in normal air from other channels; does not replace model-specific zeroing instructions.